Let your creepy light shine

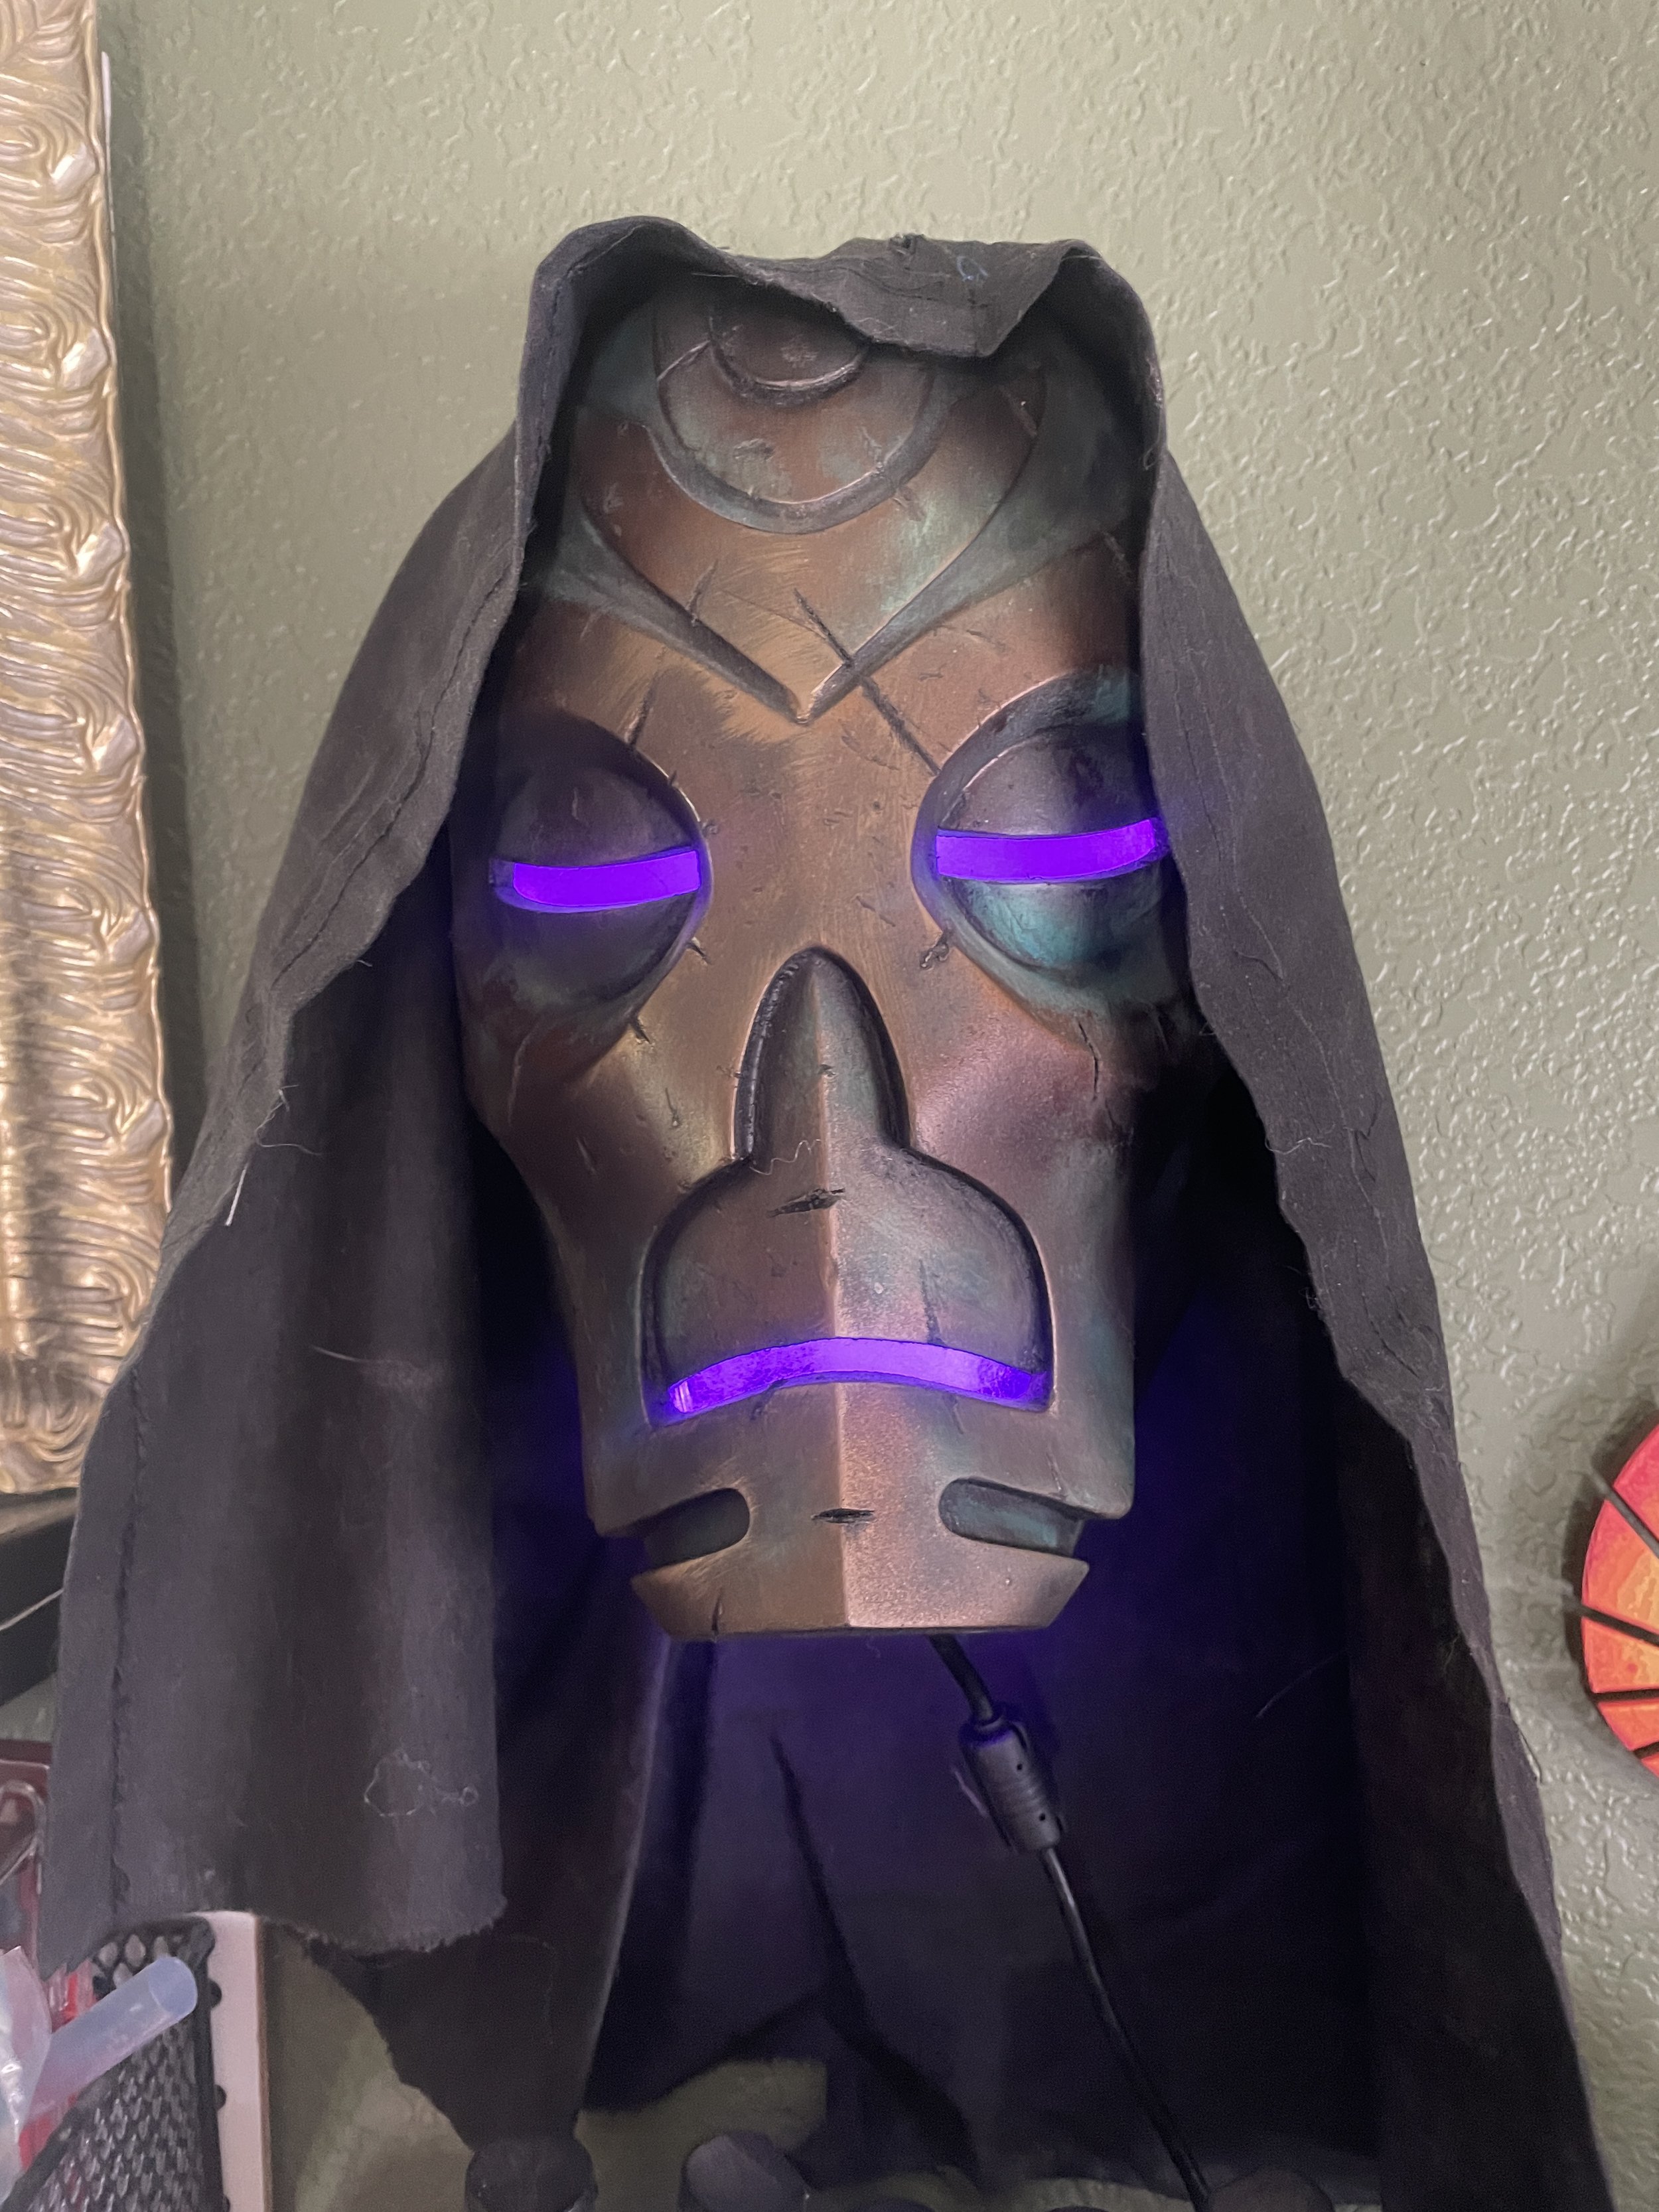
Skyrim's Dragonpriest mask, with custom lighting

This 3D-printed Dragon Priest mask is illuminated with programmable LEDs. Photo by Monica Jones

Before Christmas, Devon dove back into an old hobby — electronics — when he strung year-round programmable LEDs across the front of our house. Now he must illuminate all the things, and nothing is safe.

This Skyrim-inspired 3D-printed Dragon Priest mask, designed by Jtm, has been guarding our office, waiting for the sweet, sweet touch of LEDs. Today, this creepy severed head shall wear purple.

Supplies for Electronics

Pixel String Light
WiFi Development Board
Soldering Station (or whatever station you have)

Instructions

The seed pixels (the LEDs) have three wires. The marked one is for voltage, which gets soldered to the 5v hole on the ESP. The next one is for signal. I soldered that to D4. The final wire is for ground, and that one gets soldered to G.

Cut as much wire as you need for your project. We recommend using no more than 30 LEDs on an ESP board.

Next, install WLED on the board. You’ll need to install the drivers first. Then plug in WLED and follow their setup instructions. Your config should look something like this.

Configuration specs for programmable LEDs

Masterwork Tools is an Amazon Affiliate. We earn a small commission on qualifying purchases.
Make your own retro Galaga earrings

Galaga fighter ship earrings

Galaga Fighter ship earrings. Photo by Monica Jones

We’re selling finished earrings in our store, but if you have access to a laser cutter, you can make your own with our free downloadable .svg file (see materials below).

Materials

Galaga ship .svg file
1/8-inch-thick white acrylic sheet sized for your laser cutter
Fine-tipped paint pens in blue and red
Gloss varnish
Jewelry findings (fish hooks and jump rings)
Jewelry pliers
Painter’s tape

Tips

  • The .svg file is separated into three layers. Cut the outermost layer and score the other two.

  • If your acrylic doesn’t come masked, cover the front and back with painter’s tape or masking tape to prevent scorch marks. When your cut is complete, remove just the areas you want to paint. The tape will work as a stencil to make your job easier.

  • I use white acrylic sheets because they’re easy and sturdy, but use any laser-safe material you prefer. Stick with acrylic if you decide to make the earrings thinner than 1/8 inch.

  • Varnish the earrings once the paint is completely dry. I prefer leaving the tape on while applying the varnish because the acrylic is already as glossy as it’s going to get, but it’s up to you.

  • If you’ve never made earrings before, check out this video on how to attach the jump ring and fish hook to the base.

  • This design is available for personal use.

    Masterwork Tools is an Amazon Associate and earns a small commission from qualifying purchases.