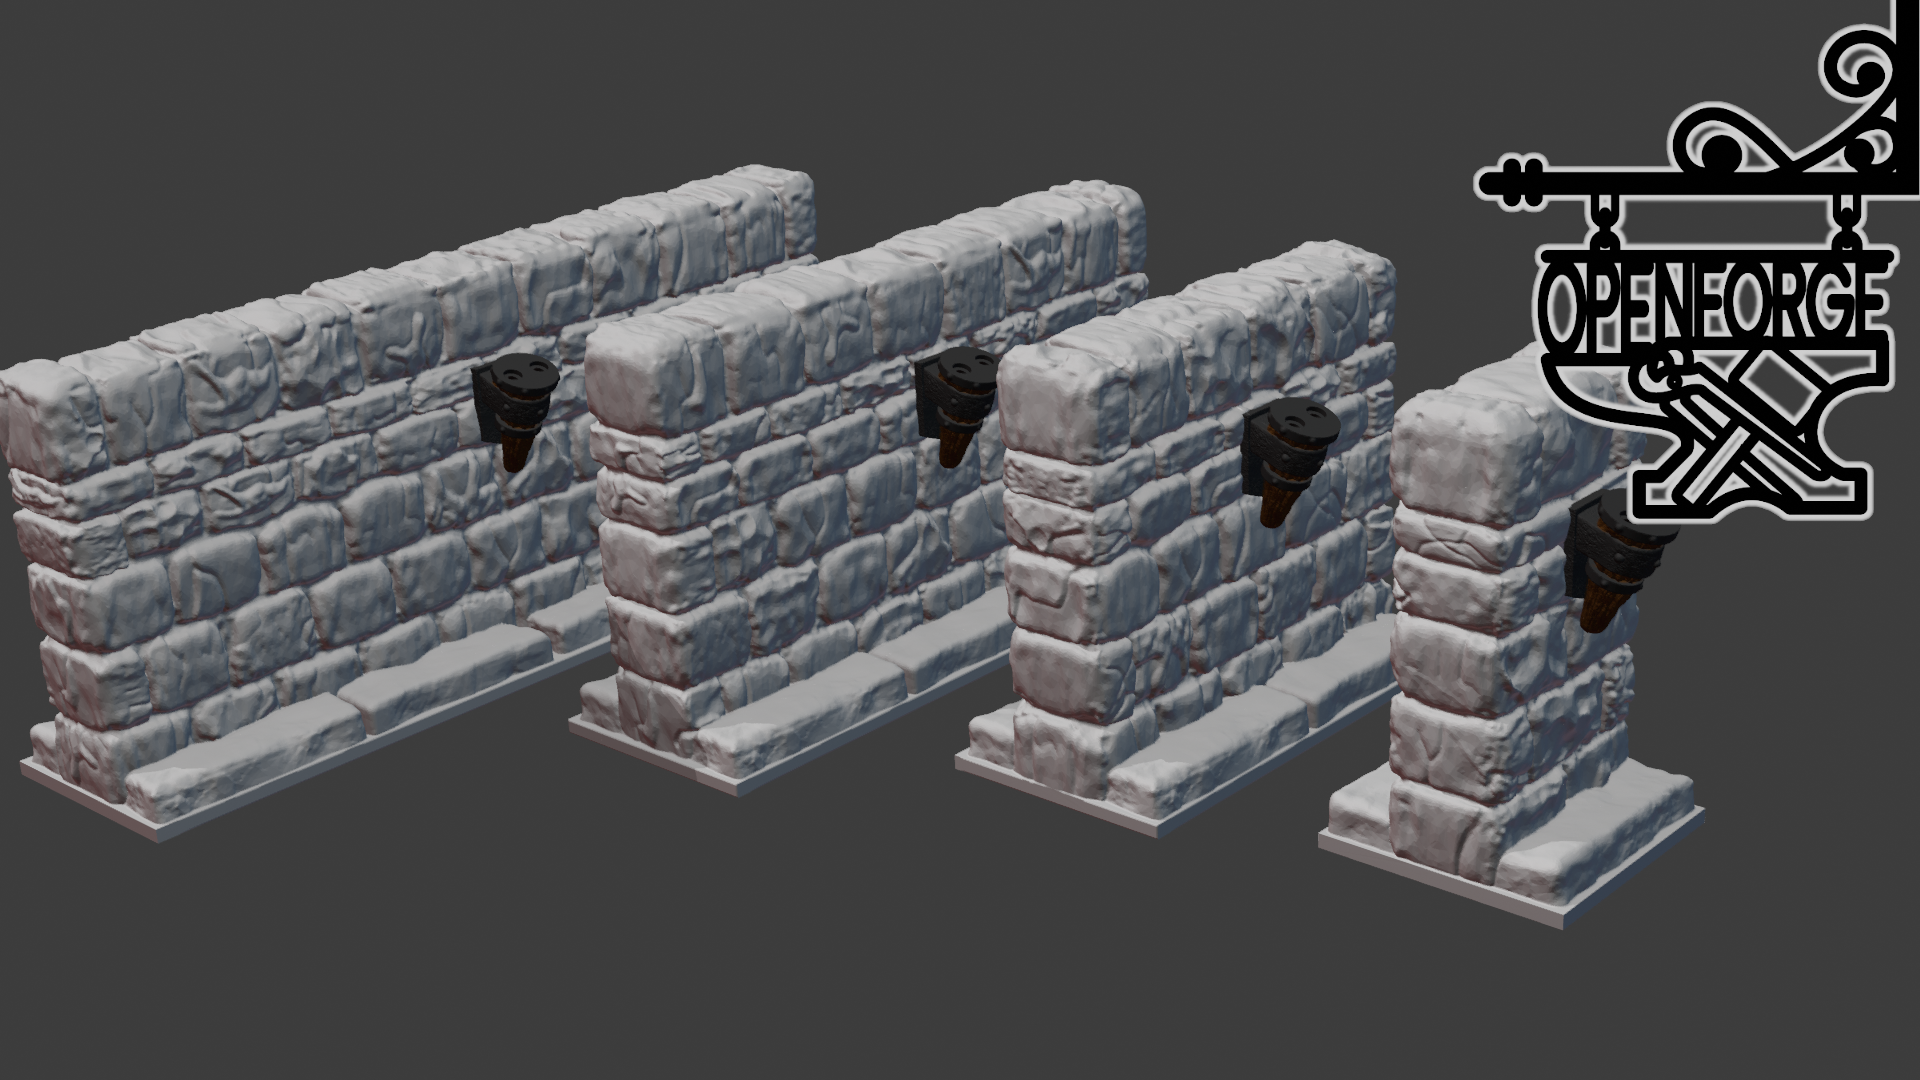
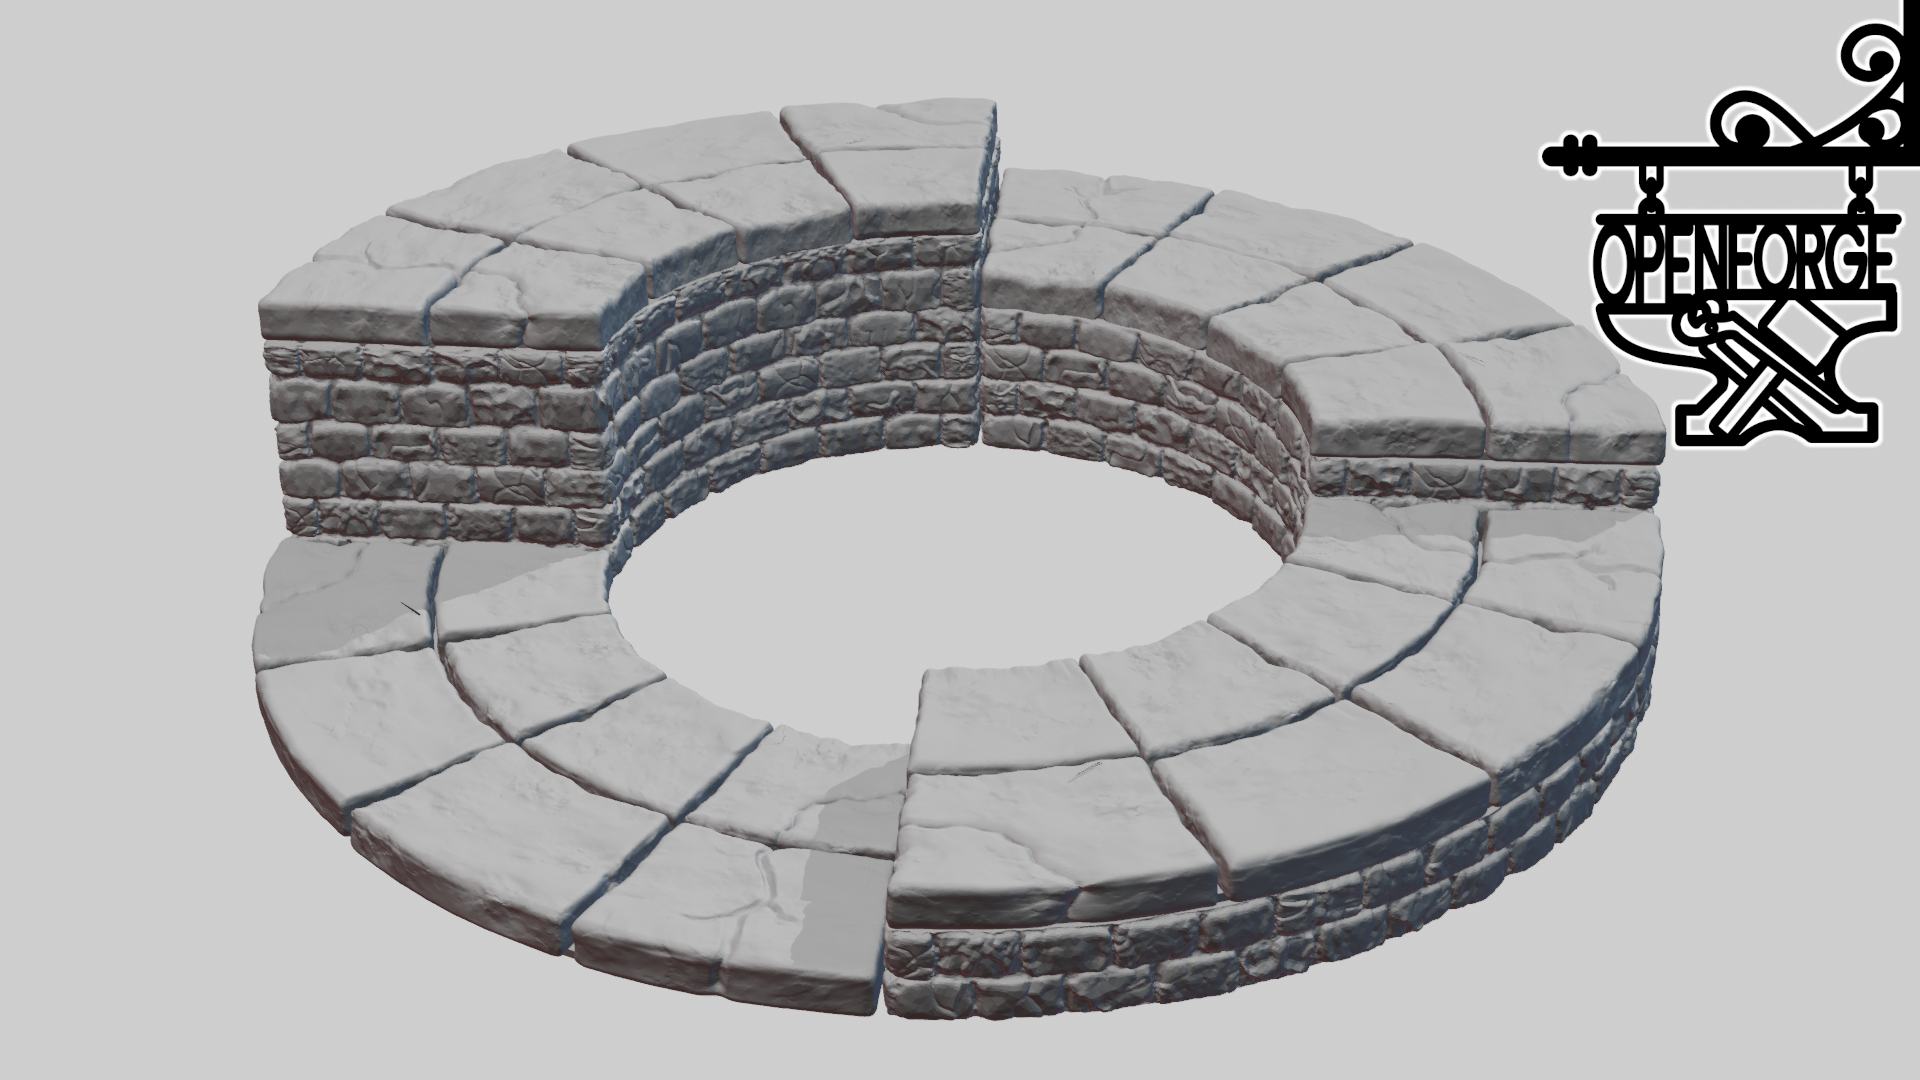
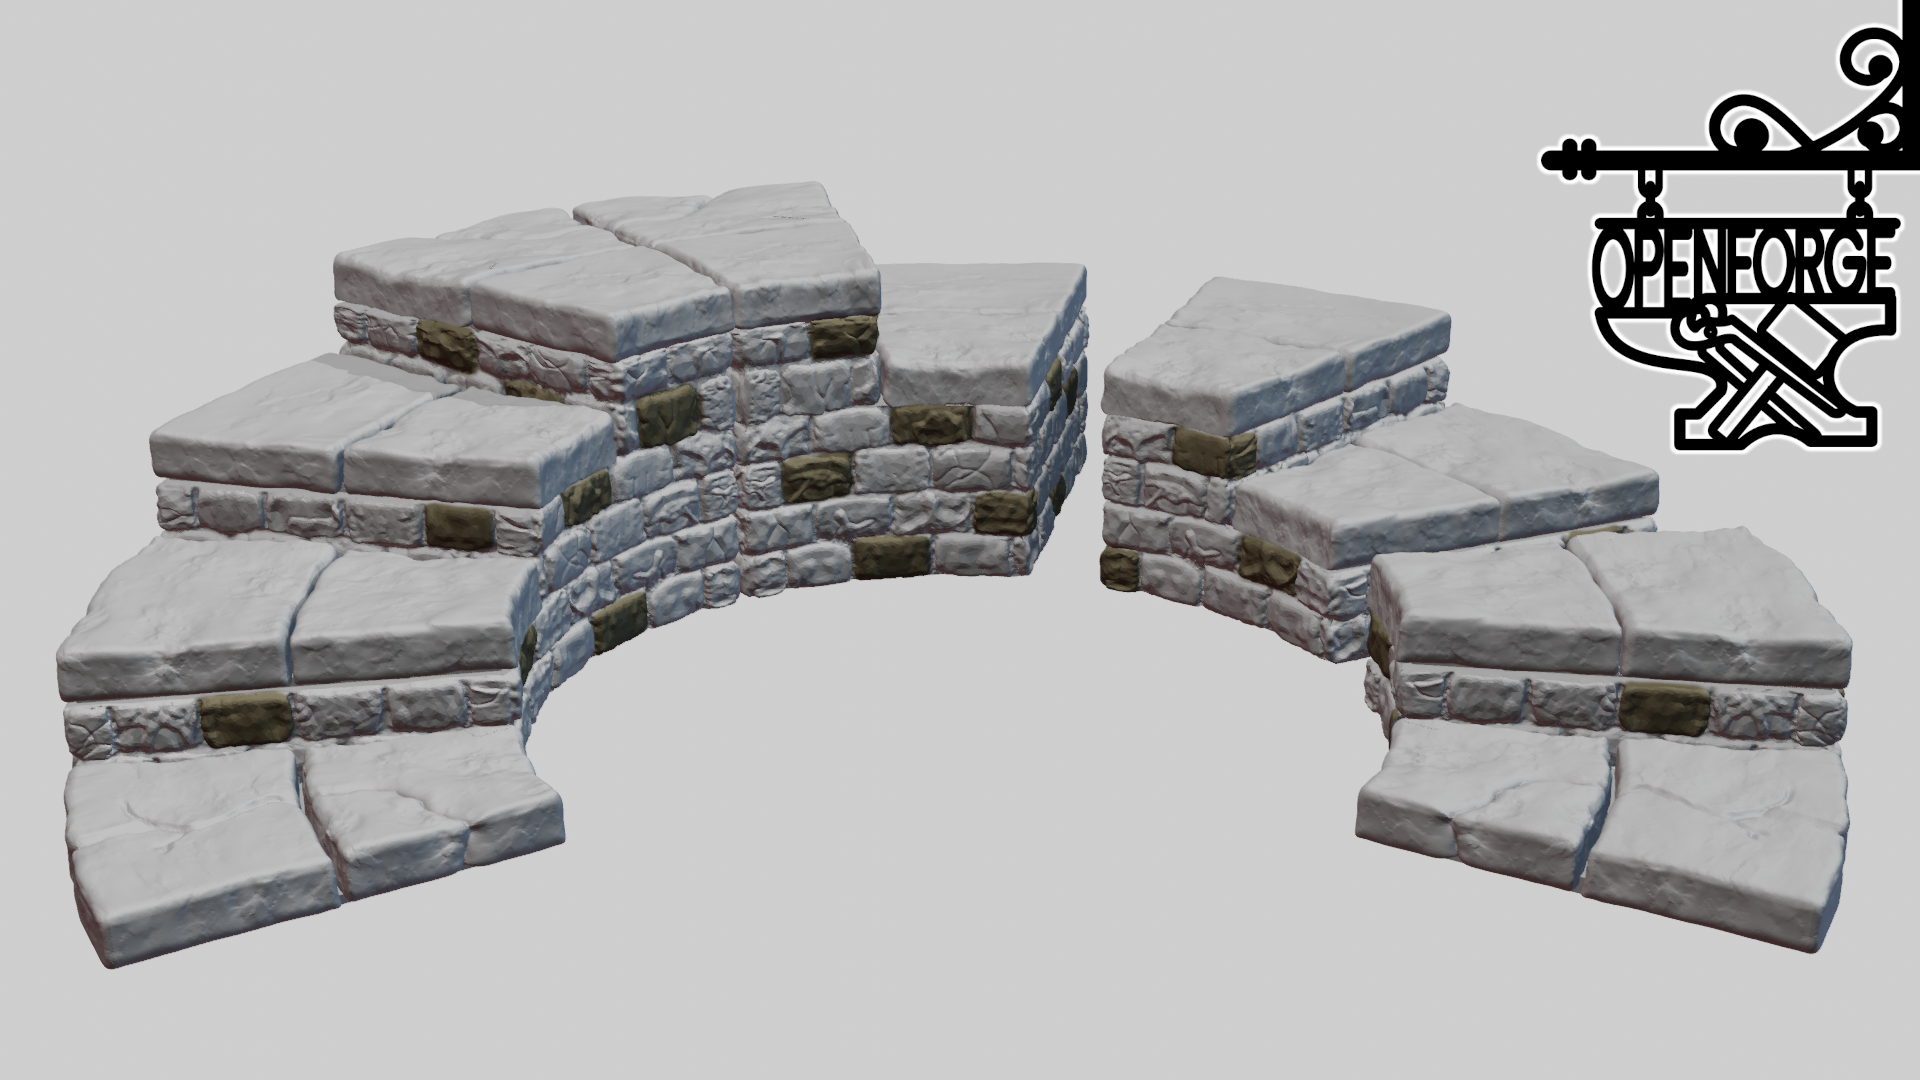
This infinity hallway can be used for magical shenanigans, or as a simple way to indicate that a hallway goes on for a long time. If infinity is more than you need, our release includes files for building just the hallway.
This project has been in the works for years, literally. Devon first ordered some of the stuff he needed all the way back in February 2018. Five years later, he finished nailing down the skills he needed to make this work well.
He made custom bases for hallways. While this tile is technically 3x2, if you print a 3x base, it won't line up well. Our release includes a new set of bases to solve this problem. The tile is effectively the same as a 2x2 tile with two separate walls attached. He also made versions of the bases with more space for electronics, and added space to all sets under 2x2 square bases. Finally, people have been asking for plain separate wall bases with the new flex magnetic holes in them, so he added those as well.
How to make the infinity hallway
For this print, you'll need plexiglass or polycarbonate. It must be 1/16 inch or smaller. You might struggle if it's larger than 1/20 inch (0.05 inches). In metric, 1mm or 1.5mm thick. You'll need a way to cut the plexiglass. I've included an .svg in case you have access to a laser cutter, but a plexiglass cutter will work too. You're cutting for just under 2 inches by 2.5 inches. Once the plexiglass is cut, you'll want to apply the window film cover, then trim it to size. Finally, paint the back of one of the pieces of plexiglass silver, and after it dries, paint it black.
How to make the torches
Print the wall you want, a base, and the matching floor that is cut for walls. Use the old base design to give yourself a little more space to play with if you're doing a 2x2 tile. Also print the torch. There are two torch versions. The textured one is better on a resin printer. If you have only FDM, both can work, but the older, untextured torch is easier to print on FDM.
Paint the tile and glue it.
Take one of the 2 pin dupont cables and cut it in half. Feed it through the hole. When the wire is out of the other side, pull it snug to get the connector fully into the wall. If you look at the photo above, you can see that the connector goes fully inside the wall. You will always want the cable to have the red and black wires the same on every tile you make. With the wall facing me, I put the red (power) on the left, and black (ground) on the right.
Strip some insulator off the end of the cable -- long enough that you can feed it through the holes in the lily pad battery holder. Red goes to +, Black to -. I tend to strip off about 1 inch so that I can feed the wire through and then wrap it/tie it to make it secure. It's better if you solder it, but you can get away with wrapping.
Test the LED in the socket. The longer of the two wires should go in the red side of the connector. Once that's tested and it works, feed the LED through the torch body, test it again, and glue it down. I prefer to file the plastic top to scar it up to make it better at diffusion. Finally. I like to attach the LED with hot glue and shape that into a bit of a flame. Test it in the socket again.
Once it all works, you can start trimming the wire from the LED so it sits snugly against the wall. Remember: You can't cut something to be longer, so trim it a little at a time and test until the torch can sit snugly against the wall.
Remove the battery holder, and glue the wall into place on the tile, ensuring the wire makes it inside the middle of the base.
Now, you can choose to feed it out through one of the clip holes, or trim it down and reattach the battery holder. There's a photo above showing how I fit the LilyPad inside the base.
Finally, if you have any problems, come chat in the OpenForge Discord. We should be able to help you out.
Recommended gear
Soldering
Useful but optional
Grab the files
Disclaimer: Masterwork Tools is an Amazon Associate and earns a small commission from qualifying purchases.


